Every long ride ends the same way.
You roll back onto familiar roads, the miles behind you, the tank nearly empty, your jacket still carrying the smell of fuel and fresh air. The tour is over. The ritual begins.
Most riders think about the ride itself — the route, the roads, the gear. Far fewer think seriously about what happens when you get home. But how you treat your motorcycle after a long tour has a direct impact on how ready it is for the next one. And how long it lasts.
Whether you’ve just come back from a weekend blast or a two-week crossing of Europe, here’s the post-tour routine that keeps your bike in the condition it deserves — and keeps you ready to go again.
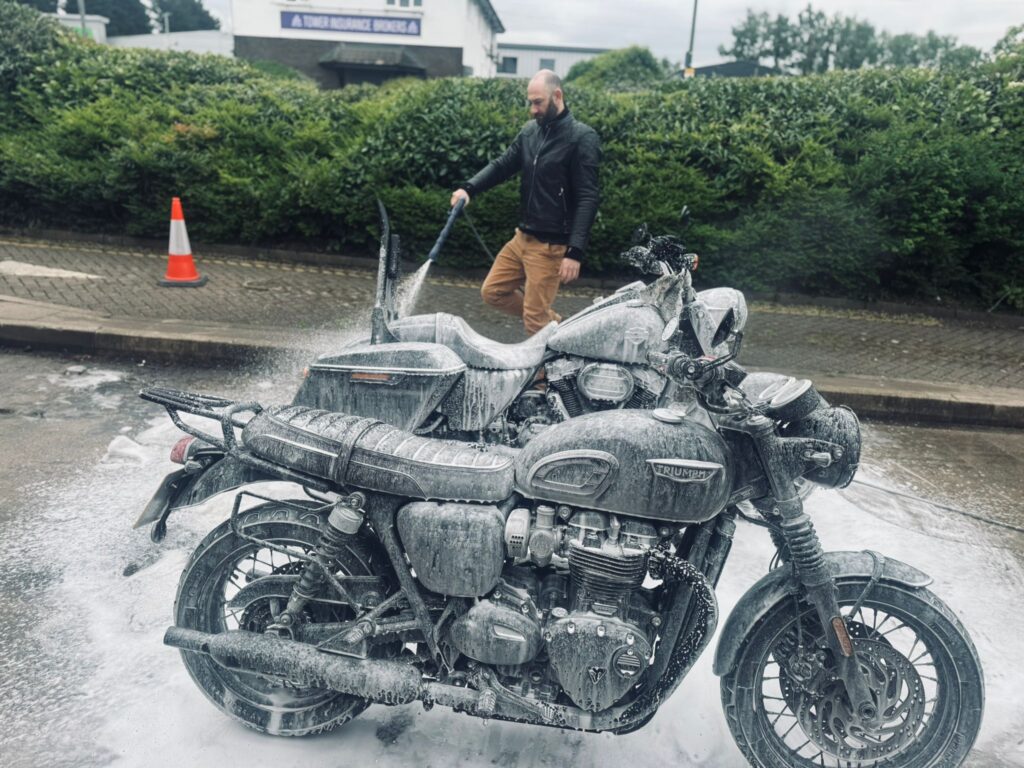
Step 1: The Wash — Do It Properly
The first thing most riders want to do after a tour is wash the bike. And they’re right to — road grime, dead insects, salt and dust are all mildly corrosive, and leaving them sitting on your paintwork, chrome and engine casings will slowly but surely cause damage.
But how you wash matters. A few things to get right:
- Let the engine cool first. Hosing cold water onto hot engine cases can cause thermal shock and crack seals. Give it 30 minutes minimum after the last ride.
- Use a proper motorcycle shampoo, not car wash liquid or washing up soap. The pH matters — harsh detergents strip wax and leave your paintwork vulnerable.
- Be careful with a pressure washer. It’s fine for the frame, wheels and bodywork — but keep it away from wheel bearings, headstock bearings, swingarm pivots and any electrical connections. Water forced into these areas under pressure causes long-term damage.
- Rinse thoroughly. Soap residue left in the sun will leave spots and streaks that are harder to remove later.
- Dry it properly. A chamois or microfibre cloth, not an old t-shirt. Pay particular attention to the chrome — water sitting on chrome overnight will mark it.
After washing, give the whole bike a once-over while it’s clean. A clean bike is much easier to inspect — you’ll spot leaks, cracks and damage that road grime was hiding.
Step 2: The Inspection — Check Everything
With the bike clean, work through it systematically. You’re looking for anything that’s worn, cracked, loose, leaking or damaged by the miles you’ve just put in.
Tyres
This is the most critical check. Look at tread depth across the full width of both tyres — not just the centre strip. Check for cuts, embedded debris, cracking in the sidewalls, and any flat spots from extended motorway cruising. If you’ve done a full European tour, there’s a reasonable chance one or both tyres are due for replacement.
Check pressures cold. Tyres lose pressure on long tours — especially if you crossed through significant altitude changes.
Chain (if applicable)
After a long tour, your chain needs cleaning, checking and lubing. Wipe it down with a chain cleaner, check the tension and adjust if necessary, then apply fresh chain lube. A dry, dirty chain wears faster and is less efficient. If you rode through rain or off-road sections, this is especially important.
Brakes
Check your brake pad thickness on both wheels. Alpine descents and long motorway runs are hard on brakes — if you were in the mountains, check the pads carefully. Look at the brake discs too — scoring or blue heat marks indicate the brakes are working harder than they should be.
Fluids
Check engine oil level and colour. Brake fluid (both reservoirs). Coolant if you’re on a liquid-cooled bike. Dark, gritty engine oil after a long tour means it’s time for a change — don’t wait until the next service interval if the oil is telling you something different.
Lights and electrics
Check all lights — headlight, indicators, brake light. Check any USB sockets or 12V outlets you used for charging. Vibration over thousands of miles can loosen connections that were fine when you left.
Nuts, bolts and fixings
Vibration loosens things. Go around the bike and check anything that can work loose — mirrors, screen fixings, luggage rack bolts, exhaust clamps, footpeg bolts. Five minutes with a spanner now saves a much bigger problem on the road later.
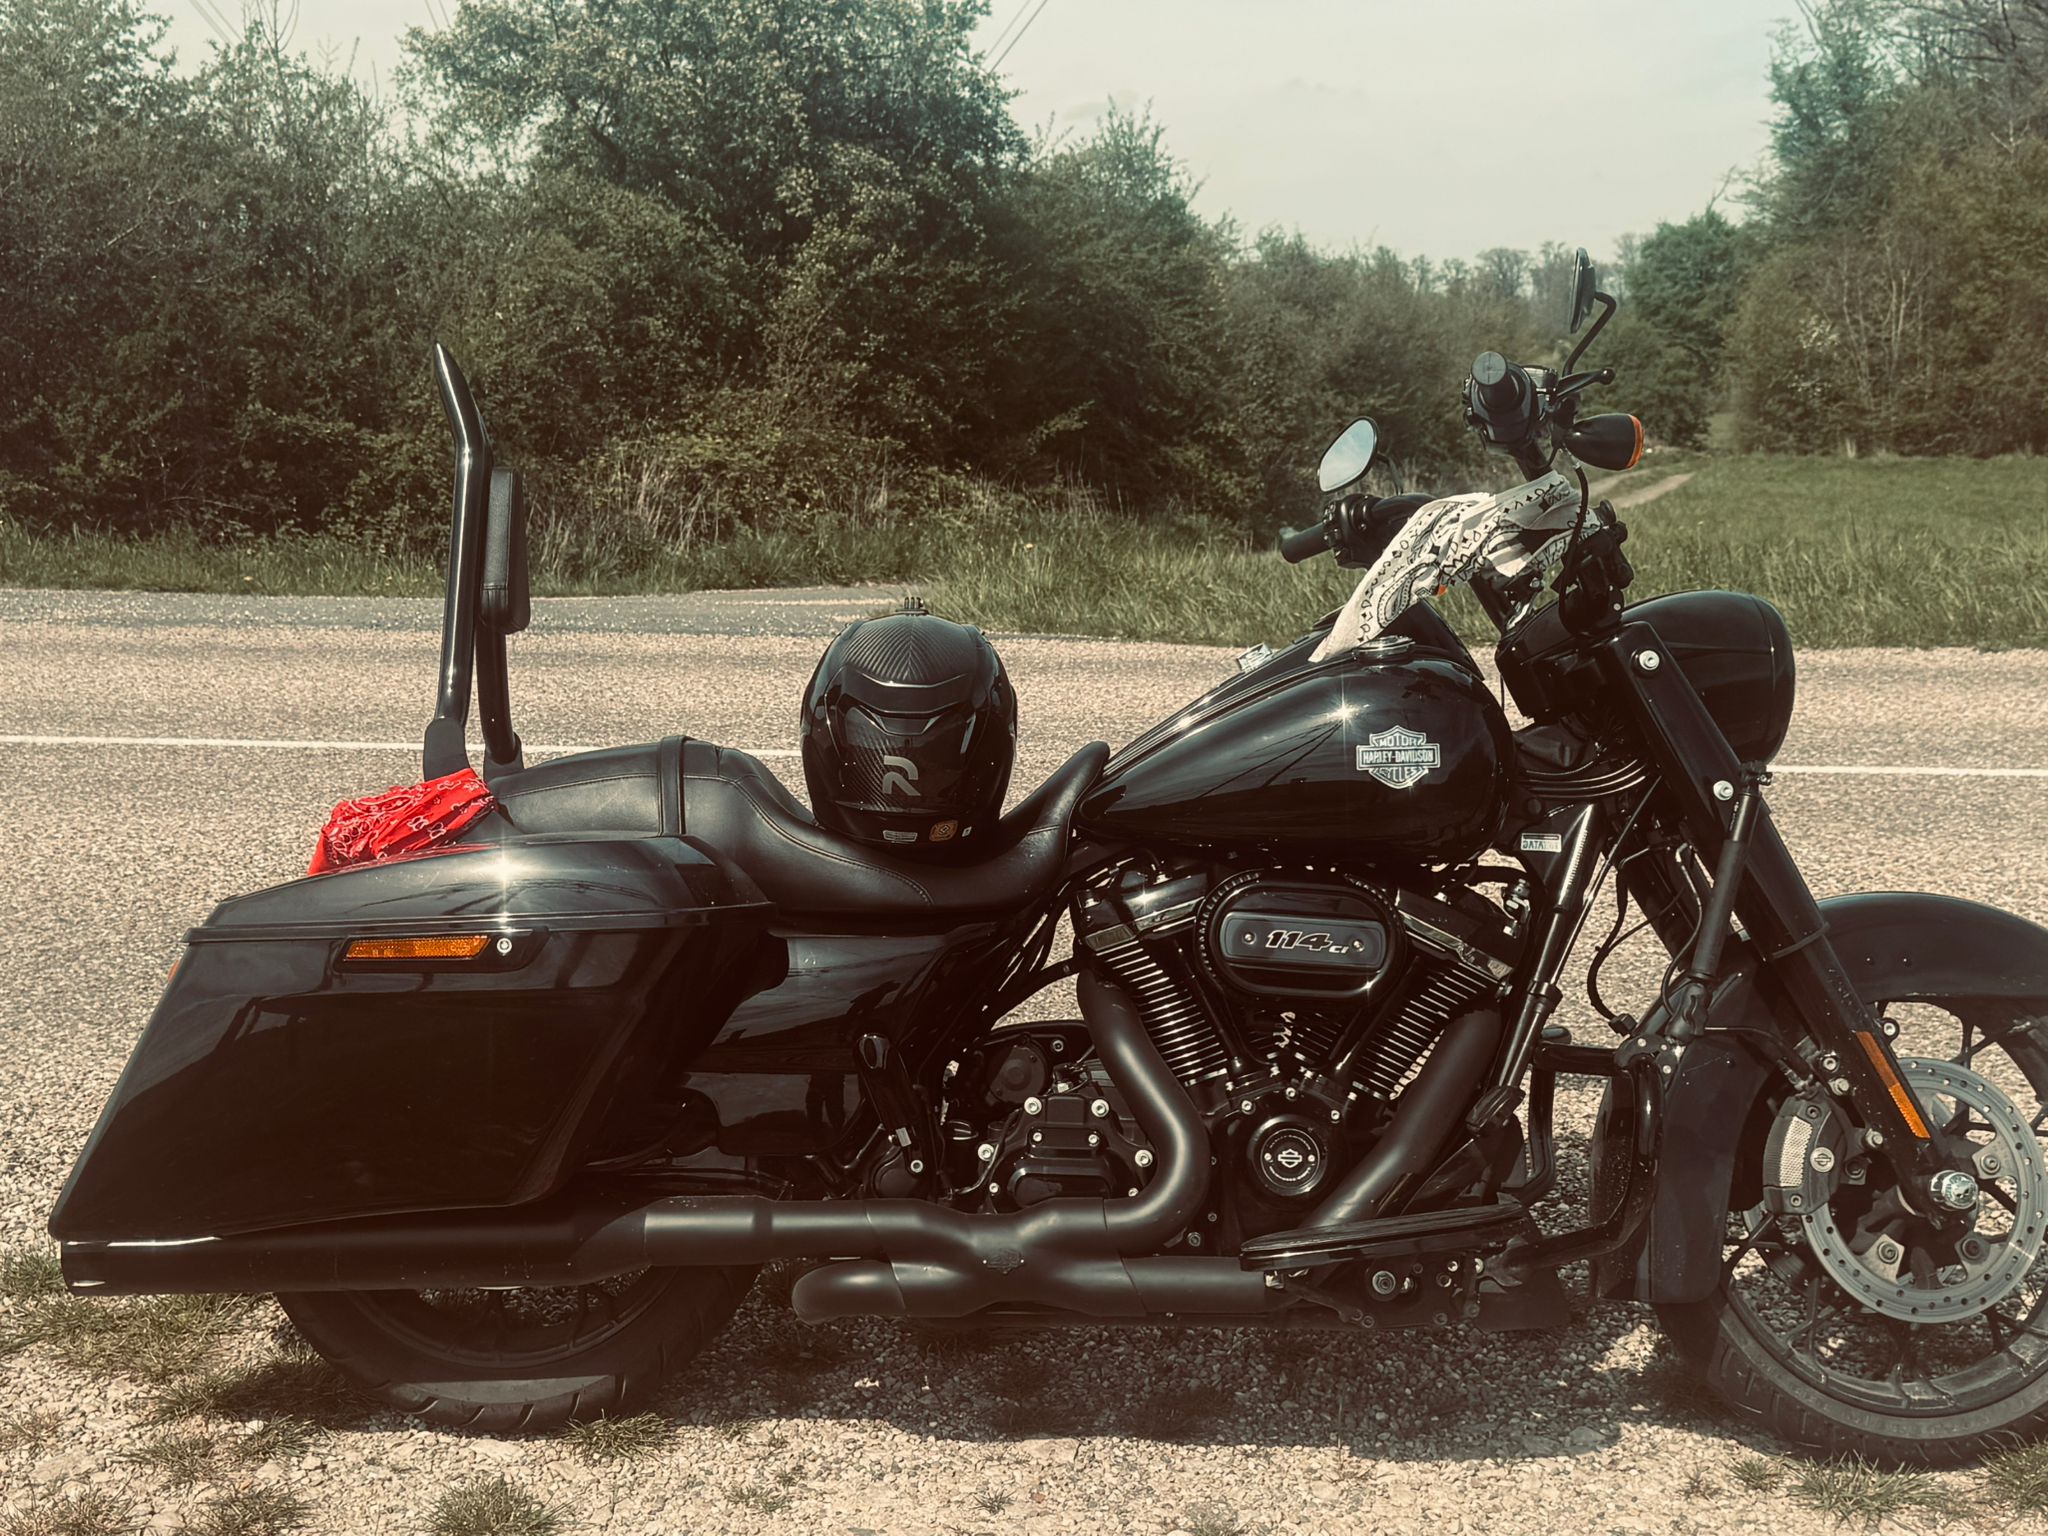
Step 3: Protect and Polish
Once the bike is clean and inspected, give it some protection before you put it away.
Apply a good quality wax or detailer to the paintwork. This creates a barrier between the paint and the elements — especially important if the bike is going to sit for a while before the next ride. For matte finishes, use a matte-specific detailer — standard wax will leave a sheen you don’t want.
Chrome and bare metal benefits from a light coat of ACF-50 or similar corrosion inhibitor — particularly anywhere you rode through rain or near the sea. Salt air is particularly aggressive on metal.
Leather seats — especially on Harley-Davidson tourers — benefit from a leather conditioner applied after cleaning. Long tours dry out the leather, and cracking starts earlier than you’d think.
Treat your screen. Insects and road grime etch into plastic screens over time. A proper plastic polish removes the light scratching and helps keep visibility clean.
Step 4: Sort Your Gear
Your riding gear needs post-tour attention too — and most riders neglect this completely.
Textile jackets and trousers should be washed according to the manufacturer’s instructions. After washing and drying, re-apply DWR (Durable Water Repellency) treatment with a product like Nikwax TX.Direct — the waterproofing in textile gear degrades with use and washing, and needs refreshing.
Leather gear needs cleaning with a leather cleaner and then conditioning. Don’t skip the conditioning — dirty, dry leather cracks. And cracked leather doesn’t protect you.
Helmet — remove the liner if possible and wash it. Wipe down the shell and visor. Check the visor for scratching — a scratched visor in low sun or oncoming headlights is a genuine safety issue. If it’s badly scratched, replace it.
Boots — clean and dry them thoroughly, then apply a waterproof treatment. Wet boots left to dry without treatment will stiffen up and crack faster.
Step 5: Note What Needs Doing Before the Next Tour
The best time to plan your next tour’s prep is immediately after you finish the last one. Write down everything you noticed — what wore out faster than expected, what let you down, what you wished you had.
Tyres getting close? Book them now. Service due? Book it while the bike is already clean and inspected. Gear that needs replacing? Order it before the next tour season sneaks up on you.
The riders who are always ready to go at short notice are the ones who don’t leave the admin until the week before departure.
The Mindset Behind the Ritual
There’s something deeper going on with the post-tour ritual than just maintenance.
Washing your bike after a tour is a way of honouring what it just did for you. Checking it over carefully is a way of respecting the machine and the road. Riders who care for their bikes properly tend to ride better, because they understand their machines more deeply.
It’s also a way of closing the loop on a tour — of processing it, reflecting on it, before life gets busy again.
The ride might be over. But the relationship with the bike continues. And the next tour is already waiting.
Planning Your Next European Tour?
If the post-tour wash has you already thinking about where you’re riding next, you’re our kind of rider. Our 2027 tour calendar is live — from the Alpine passes to the Balkans to the Iberian Peninsula. Grab the full 2027 tour pack or fill in the form below and we’ll send everything directly to you.
Ride Free. Ride Wild. ✌️
Joshua James
Wild Roads Motorcycle Tours